ドライバ、Toolkitのダウンロード
NVIDIAドライバを以下から
https://www.nvidia.co.jp/Download/index.aspx?lang=jp
CUDA Toolkitを以下からダウンロードしておく。
https://developer.nvidia.com/cuda-downloads
CUDA Toolkitのダウンロード方法は複数あるが、おすすめはruntime (local)オプション
UbuntuをCUIモードに変更
最新のドライバーをインストールするため、GUIではなくCUIで起動している必要がある。
以下コマンドを実行
sudo systemctl set-default multi-user.targetその後再起動することで、UbuntuがCUIで起動するようになる。
しかし筆者の環境では再起動後に真っ黒な画面のまま進まなくなってしまった。
https://askubuntu.com/questions/1099463/cannot-boot-after-sudo-systemctl-set-default-multi-user-target
を参考に「Ctrl + alt + f2」を同時押しすることで解決できた。
追記
set-defaultではなくisolateを使えば一時的に変更できるみたい。
ドライバ、Toolkitをインストール
先程ダウンロードしたパッケージをインストールする。
最初にドライバをインストールするため、ダウンロードしたフォルダ内で以下を実行
sudo sh NVIDIA-Linux-x86_64-470.82.00.runウェザートにしたがって完了後、同様にcuda toolkitをインストール
sudo sh cuda_11.5.0_495.29.05_linux.runインストールが成功したか確認するには?
https://github.com/NVlabs/stylegan2
のRequirementsに書いてあるように、リポジトリをクローンしたフォルダの中で、
nvcc test_nvcc.cu -o test_nvcc -runを実行してみる。正しくできていれば
| CPU says hello. | GPU says hello.
と出力される。
UbuntuをGUIモードに戻す
以下コマンドを実行後、再起動
sudo systemctl set-default graphical.targetNVIDIA Container Toolkitをインストールする
このページを参考にインストールする。
https://docs.nvidia.com/datacenter/cloud-native/container-toolkit/install-guide.html#docker
Dockerコンテナを起動する。
Dockerfileが同梱されているので、それを利用する。
https://github.com/NVlabs/stylegan2/blob/master/Dockerfile
ビルドする。
docker build . -t stylegan2起動。
--gpus allオプションを忘れずにつける。
sudo docker run -it --gpus all stylegan2ビルドしたとはいうもののまっさらの状態なので、gitを入れリポジトリをクローンしてくる。
# apt update && apt install -y git && git clone https://github.com/NVlabs/stylegan2顔画像の生成
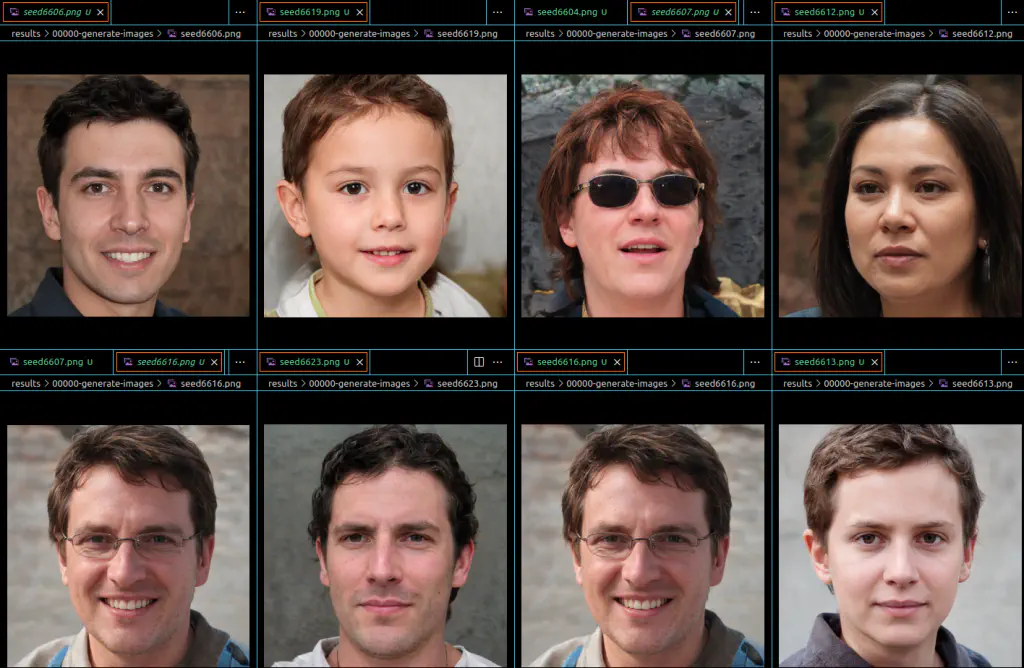
Stylegan2、READMEの「Using pre-trained networks」にあるコマンドを実行してみる
# python run_generator.py generate-images --network=gdrive:networks/stylegan2-ffhq-config-f.pkl \
  --seeds=6600-6625 --truncation-psi=0.5
同resultsフォルダに生成された画像が保存される。
